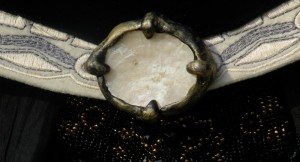
~Please also have a look at my other Star Wars costume reproductions! ~
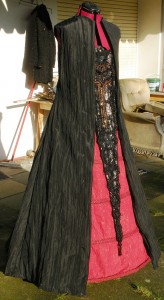
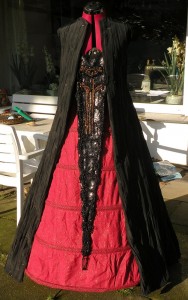
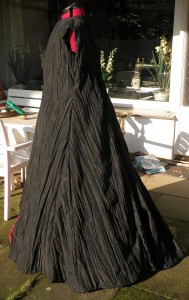
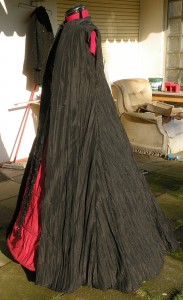
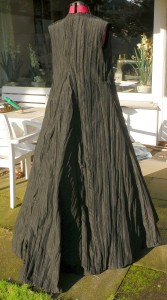
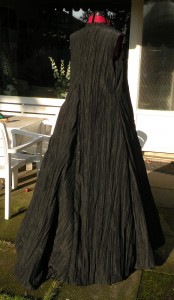
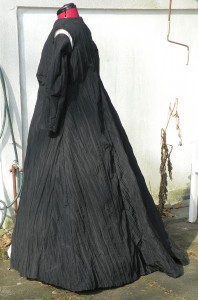
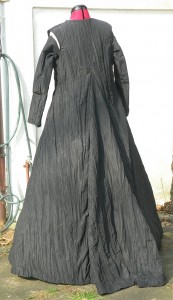
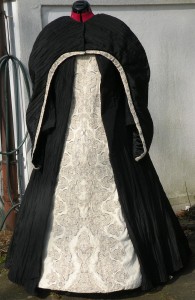
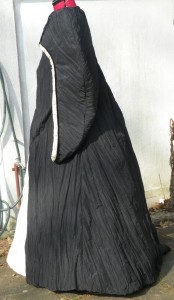
Queen Jamillia – the crushed taffeta overdress, sleeves and collarThe overdressI’ve started to make the overdress by using the Patterns of Fashion Loose gown. After I had basted all the cotton pieces to the taffeta, I cut the pieces out and just assembled the overdress. Surprisingly the only thing I had to change compared to the original gown was to tuck approximately 2-3 inches of fabric under at the front opening; other than that, it immediately looked like the Jamillia overdress. To „overcome“ the „back-pulling effect“ of the large back gore which I added to make it look more like the real Jamillia costume, I added a waistband on the inside of the gown, which I tacked down on the side seams. That way the sides of the gown lie smooth along the body while the back with the gore can flare out. Here are some pictures taken outside in the sun. Note that I had to lighten them a bit since the black crushed taffeta is SO black that, well, otherwise the crush effect wouldn’t have been visible. The overdress is worn over my Pelican gown farthingale; the triangular beaded piece is just pinned to the dress mannequin:
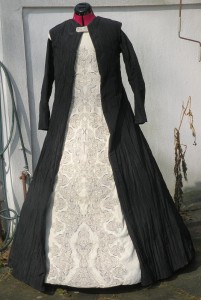
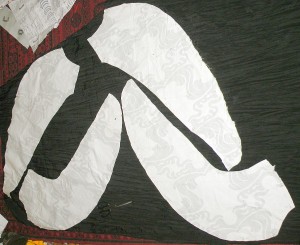
Now I need to hand stitch the front edge and the hem, which are just pinned in these pictures. Here’s what it looks like when finished; worn over the finished, embroidered underdress: The sleevesThe sleeves, and that part I’ve studied pretty closely in the exhibit pictures, seem to be more like some kind of ‚cape‘. That means I’m not sure if the wing-like sleeves are attached to the overdress or not. I’ve started on them by drafting a pattern, then cut that out in a sturdy cotton fabric, and lay those cotton fabric pieces of the cape / sleeves out on the crushed taffeta. The original sleeves do have a certain direction into which the crushed taffeta runs; so I tried to imitate that the best I could by laying them out in precisely that manner:
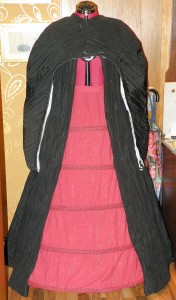
After pinning the cotton pieces to the taffeta, then sewing along all edges and basting the taffeta to the cotton fabric, I assembled the sleeves / cape. Here’s a first test fitting of that cape-like winged sleeves over the overdress:
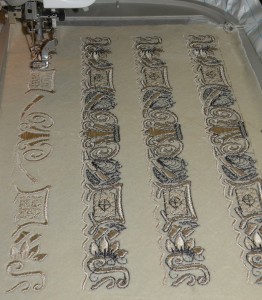
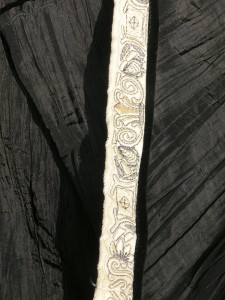
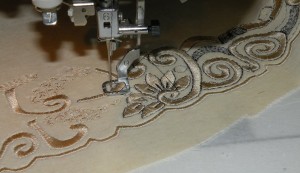
A picture of the sleeve trim embroidery in progress:
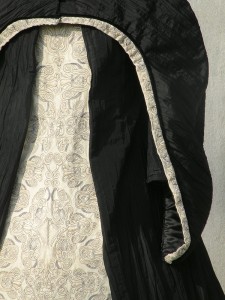
Here is another pic of all the almost-finished pieces pinned to the dress mannequin. The trim on the sleeves isn’t sewn down yet:
More pics of the finished sleeves, worn over the embroidered underdress and the overdress:
The Collar
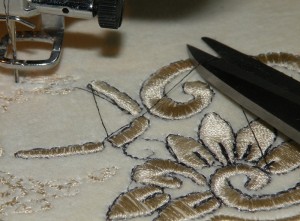
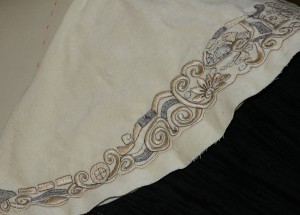
Here’s the first half of the collar trim. It still needs to be sewn to a velvet base and I still need to cut some of the connector stitches that the embroidery machine leaves behind but I guess you get an impression. Since the collar trim has to be embroidered in a curve, it’s pretty difficult:
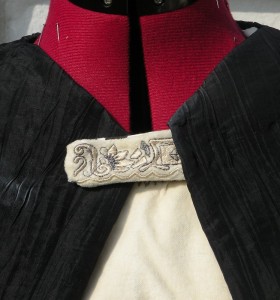
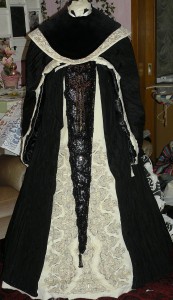
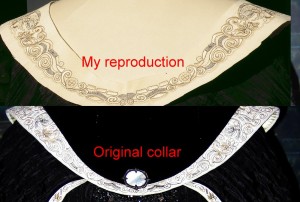
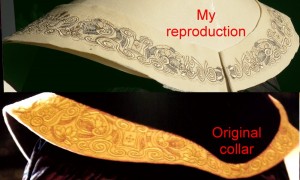
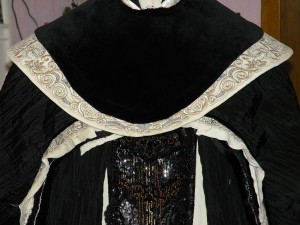
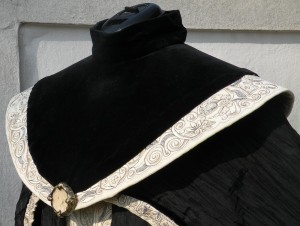
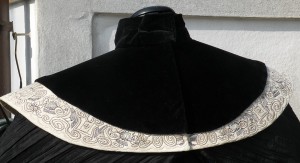
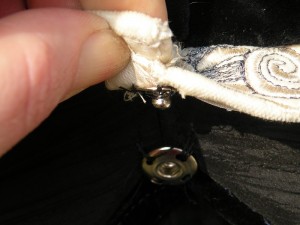
And here’s the finished collar embroidery (still not attached to the velvet; or the stiff interfacing base. I am using ‚Decovil‘, an interfacing often used to create stiffer handbags, by the way. This will be sandwiched between the layers of velvet / trim and satin lining of the collar. To make the comparison between my reproduction and the original easier, I’ve prepared pics that show both. Note that the pictures of my embroidery were taken outside, in the sun; so they’re more beige-ish and not as bright as the original embroideries (of which the pictures were taken inside, with a flash – in case of the back view, obviously from a greater distance). The embroideries aren’t 100% in the places where they are on the original collar; but other than that I think I got the pattern pretty well nailed on. Here’s the collar with the trims and the black velvet base sewn down to the stabilizer. Also, the satin lining is in place, too – just that you can’t see it. The collar doesn’t sit so well since it’s just pinned. The trim on the sleeves isn’t sewn down yet, which is why it looks weird: Some more pics of the finished collar:
Continue reading the dress diary by going to the embroidered underdress. ~Please also have a look at my other Star Wars costume reproductions! ~ |
Navigation for this part of the page: |
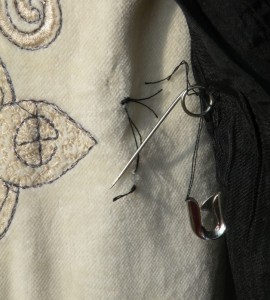
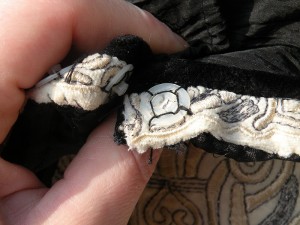
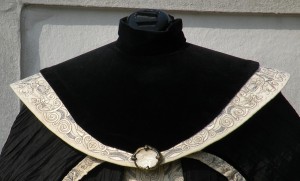
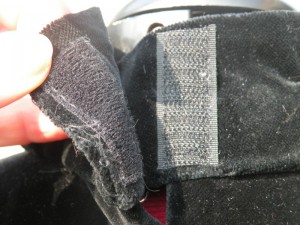 The turtleneck is closed with velcro at the back.